
Happy 10-more-days-til-Christmas! I’m moving right along with my holiday gift knitting list, mostly by doing things like crossing out “handknit socks” and replacing them with “purchased alpaca socks” instead. (I am actually getting a ton of knitting done, too, more on that later in the week.) Another time-saving stroke of brilliance was when I crossed out “handknit tree ornaments” and replaced it with “pom-pom ornaments”!

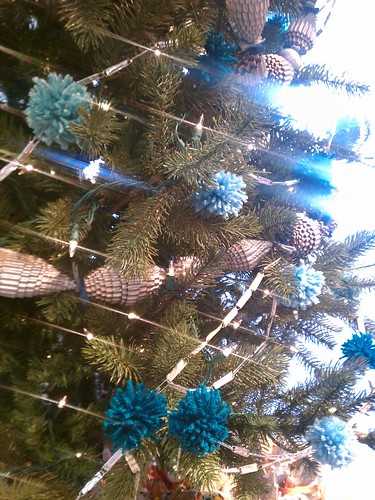
Seriously, how cute are these?!
I saw this photo (I have no recollection of where I found it originally) and was totally inspired to try my hand at pom-pom ornaments, myself. I ran out to JoAnn’s, grabbed a jumbo Clover pom-pom maker and some red, green, white/sparkly, and silver/sparkly yarns, and got to work. I was initially really confused by the little contraption so here’s a short mini-tutorial.

Steps 1, 2, & 3.
Step 1: The pom-pom maker has 4 arms (blue parts) that swing out, 2 on each side. Wrap your yarn around 2 of the arms on each side. Wrap a lot more yarn than you think you need to get a nice, full pom-pom. (My first one was so sad and skimpy.)
Step 2: Keeping the arms folded in, snip along the groove between the arms to cut the yarn for your pom-pom.
Step 3: Admire how nice the neat little pom-pom sandwich looks against the fabric of your pajama pants (classy).

Steps 4, 5, & 6.
Step 4: Loop a fairly strong piece of string or yarn through the groove that runs between the arms and tie a knot to secure the pom-pom. I worked out a little method I like: tie once tightly, wrap the yarn back around the other side, tie another tight knot, then wrap back around the other side and tie a double knot to finish (kind of like when you secure a package with twine). Then tie a knot in the ends of your dangling yarn so the pom-pom can be hung.
Step 5: Open the arms of the little contraption.
Step 6: Pop the front and back pieces of the contraption apart, releasing the pom-pom. Fluff it up and trim any stray bits of yarn to neaten it up.
DONE! The 6 of those took me maybe 45 minutes to make. Experiment with different color combinations, wrapping 2 or 3 different yarns at once, or different colors on each side. Go pom-pom crazy!
Lee Meredith recently posted about a pom-pom book and a pom-pom wreath she made on her blog. After making these little ornaments, I could totally see making more pom-pom projects. If you want to be not lazy and actually knit something for your tree, check out the lovely tree-topper that Audry of the Bear Ears blog knit for her tree. And if you want to be super awesome, take a look at the hand-sewn felt ornaments and handmade chocolate holiday cards (yup!) by Joanna at the Knitlit Twit blog. Have you seen any neat holiday projects? Please share and/or link along to your own Inspiration Saturday post in the comments!


Seems like a lot of pompoms are being made lately….I have a really old pompom maker..but haven’t used it in awhile…
LikeLike
Pom-poms, how fun!
LikeLike
I pom pom wreath would be pretty awesome.
And I love how you shortened your list by adjusting what was going to get done. That is definitely the way to do it!
LikeLike
Pingback: The Cuteness! | Woolen Diversions